March 13, 2013
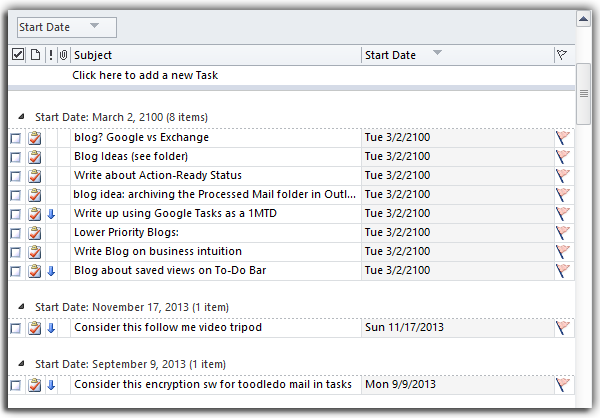
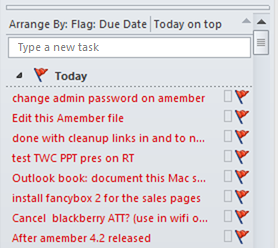
Here’s an issue that will affect a very small number of you, but I’ve seen it a few times still so I thought I’d post it. At the top of any Windows Outlook task list you should see a blank row where you can enter tasks. It will either be labeled “Type a New Task” or “Click Here to Add a New Task.” It’s called the New Item row, and notice how it looks in Outlook 2010:
If you click in that box and type a task name and then hit your ENTER key, you’ve just created a task! It’s a nifty tool and it saves time over using the New button.
Well, sometimes that row is missing in some users’ Outlook install. If it is missing in yours, whether in the TaskPad (2003), your To-Do Bar (2007, 2010, or 2013), or in your Tasks folder, you can get it back. Here is how:
- Right-click any column heading of the TaskPad/To-Do Bar, or the Tasks folder view from where it is missing, and from the shortcut menu choose Customize Current View… (it may say Custom… or in 2010/2013 it may say View Settings… )
- A dialog box will open with a large list of buttons on it. In that dialog box, click the Other Settings button on the middle left.
- A dialog box labeled Other Settings will open, the top of which is shown below.
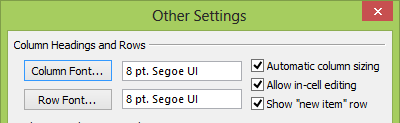
- See the check boxes at the top right? If not checked, select the Allow In-Cell Editing check box; this is necessary so that you can edit your tasks in place and is required for the next step.
- If not checked, select the Show “New Item” Row check box; this shows the row.
- Click OK and then OK again to close the configuration dialog boxes.
That’s it, the New Item row should be visible, and now you can use it as a quicker way to create tasks. By the way, if you double-click in that row, it opens a full new task dialog box, which allows you to set more task fields.
Michael Linenberger